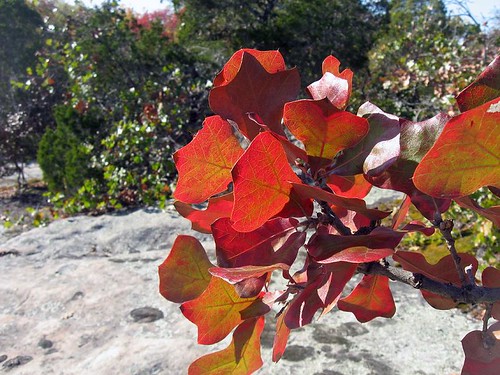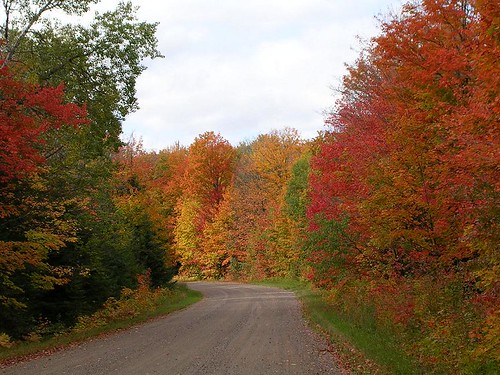
This time of year brings back fond childhood memories. Fall’s increasing chill and leaf-covered ground take me back to elementary school, where nature and the changing seasons served as learning material. A favorite lesson I learned was how to create a book of pressed leaves.
Under our teacher’s guidance, my classmates and I would bundle up in our coats and mittens, and race out to collect different types of leaves. Back in the classroom, we began the fun process of preserving some of the beauty from that fall season.
Now, working at the U.S. Forest Service, I have an even greater appreciation for the value and beauty of leaves and trees. I’d like to encourage children, and adults with a youthful love of nature, to take advantage of today’s technology and make a digital leaf press of their own.

Things you will need: permission from your parent/guardian, a notepad and pencil, camera, book or website about trees, and a digital photo album site, such as Flickr, Tumblr, or Instagram.
With tools acquired, follow these steps to create your digital press:
1) Go outside with your camera, notepad and pencil.
2) Find a tree and take a photo of it.
3) Now, take a photo of a leaf.
4) Write down a description of the tree so that you can look up what type of tree it is later. Also jot down a brief description of your location, such as the national forest you’re visiting or neighborhood you’re in.
5) Once you have at least eight photos, use your book or website to identify the leaves. Some of the common leaves you might find are oak, hickory, aspen, yellow-poplar, dogwood, beech, sourwood and black tupelo.
6) Upload the photos with names and locations to your digital photo album.
Once you’ve created your new 2012 digital leaf press, the final and most important step is to share it with your friends and families so they can learn and enjoy great memories from fall 2012 too!
Have fun!


